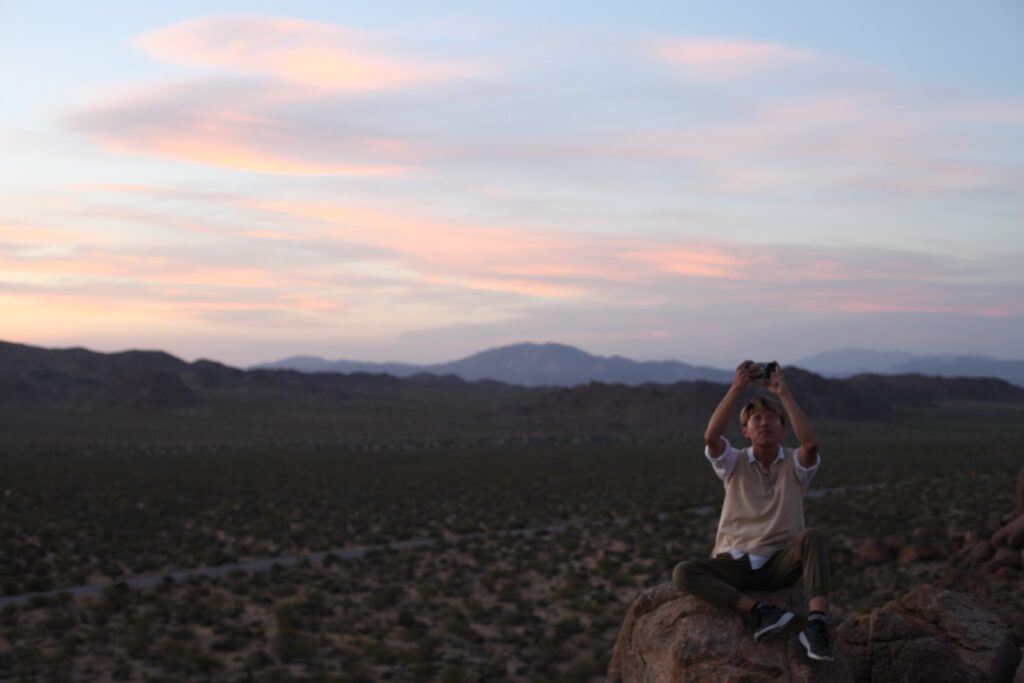
On a nice sunny afternoon last May, I went to Joshua Tree with my friend. It was an amazing adventure.
We spent three hours driving from downtown LA to Joshua Tree and arrived there by sunset. When billboards alongside the highway became groups of scrubs, we knew we were there. Since it was still during the pandemic, besides the few cars we randomly passed by, there were just me and my friend, and the mysterious vast park. All we can hear was the wind blowing through this hundreds of thousands acres of land.
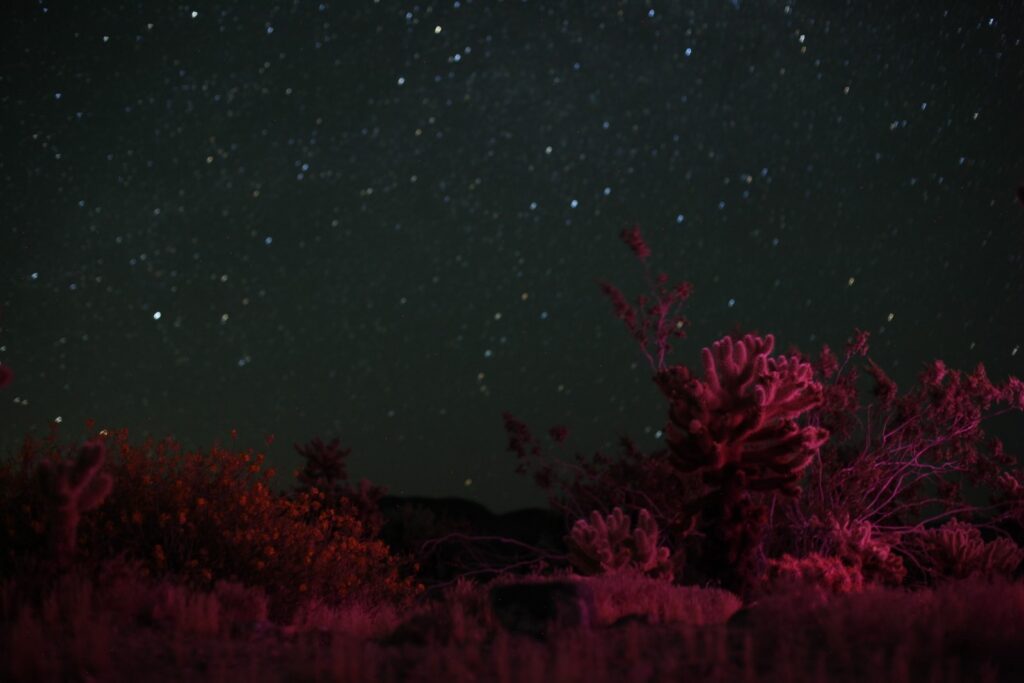
As the sky got darker, more and more stars became visible. When the last ray of daylight was gone, the sky became like a canvas splashed with raindrops. I had never seen so many stars in LA, so we spent nearly an hour shooting nothing but the night sky. I have to admit that I was guilty, for I forgot to bring a tripod for my camera and had to use a two-kilogram handheld stabilizer instead. (First takeaway from this blog: do bring a tripod to Joshua Tree if you are a photographer. It is against the photography law if you don’t!)
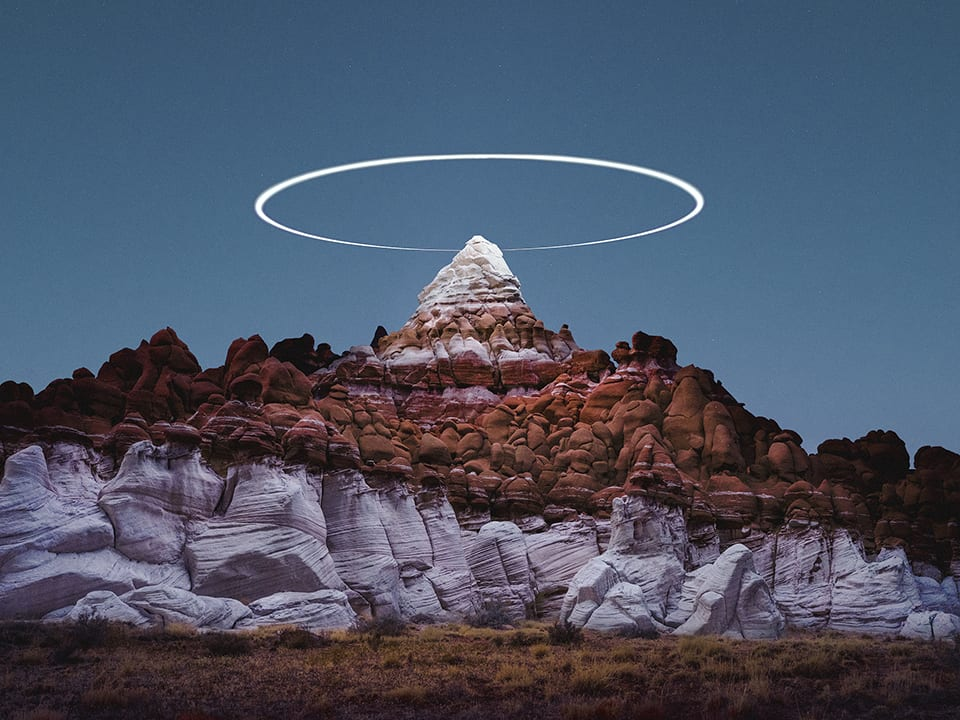
Later we drove further into the park. Everywhere beyond our headlights were pure darkness. Hares going across the road could be seen from time to time. The night is quite warm, making the whole place feels like a huge tropical greenhouse. The vibes of Joshua Tree reminded me of a photographer I like named Reuben Wu (https://reubenwu.com/). He is famous for his light painting on gigantic natural objects. Now that I had Joshua Tree and the night sky in the background, cactus with strange shapes in the forward, I found it a good chance to try Reuben’s style. Reuben used a drone to light up his objects. Since my drone wasn’t equipped with this kind of lighting system, I used my phone instead. After many trials and failures, I finally got some pictures that I am satisfied with. If you want to try something similar, here is a simple how-to guide:
1. Pick up your subject, which should be something completely dark for future illumination
2. Set your camera at a safe place, since it will be exposing your subject for a long time
3. Set ISO, white balance (set it colder to avoid the night sky being too blue), shutter speed, aperture, and focus
4. Press the shutter
5. Evenly light up your subject (extremely important). This means you shouldn’t point your light directly at your subject if you use single lighting. Instead, move the light evenly around your subject during exposure.
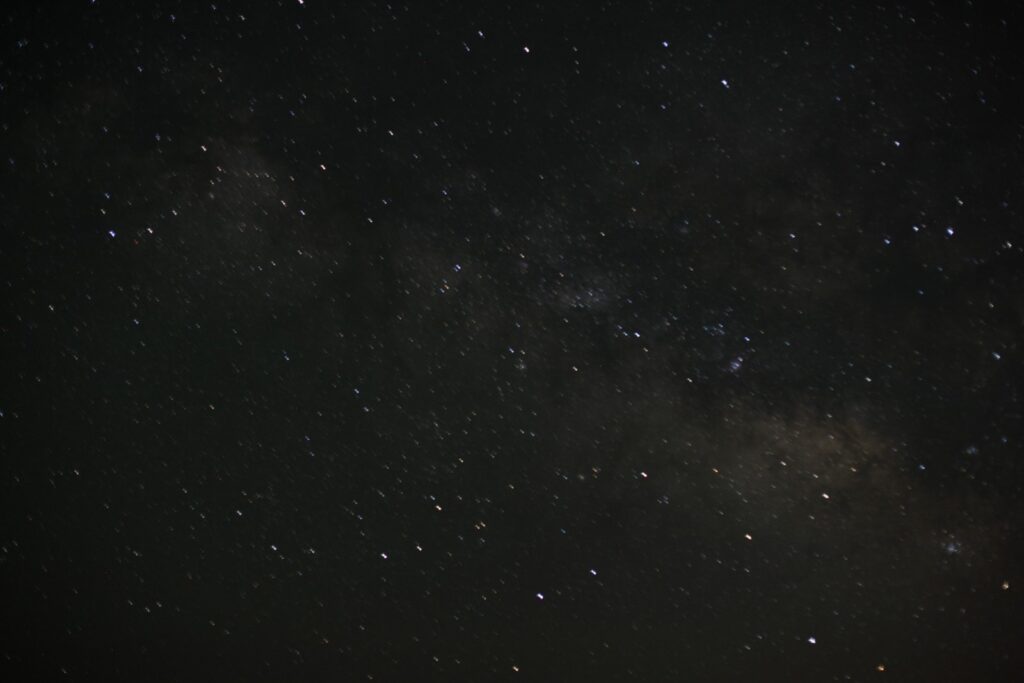
We stayed up the whole night to shoot the galaxy. It appeared at around 3am. To film the galaxy, you should set your ISO higher for a higher shutter speed. Otherwise, the stars will be shaky due to the movement of the earth. We also enjoyed a beautiful sunrise that day. When the first ray of sunlight lit up the giant rocks in Joshua Tree, they became so red as if red was their original color.

So, if you are around LA and you haven’t checked out Joshua Tree, it’s a must to go! It is a feast for both your eyes and your Instagram posts. Be sure to check the weather and your backpack. Oh, and you DO need your tripod by the way.